

Wig install
You can master wig install by following a few simple steps: prep your hair and skin, put on your wig, secure it, style it, and fix any problems. Many people use wigs for different reasons, like:
Around 75% of women in chemotherapy use wigs for medical needs.
Over 60% of wig users say wigs boost their confidence for fashion.
With practice, you can get a natural look and feel great wearing your wig.
Key Takeaways
Proper preparation is essential for a successful wig install. Clean your natural hair and skin to create a smooth base.
Choose the right wig install method for your needs. Options include wig cap, glue, adhesive spray, and glueless methods.
Ensure a secure fit by adjusting straps and using combs. Consider additional tools like wig grips or adhesive tapes for extra security.
Trim excess lace carefully in zigzag motions for a natural look. Blend your hairline with makeup for a seamless finish.
Regular maintenance keeps your wig looking fresh. Wash gently, store properly, and use wig-friendly products.
Prep for Wig Install
Getting ready for a wig install makes everything easier and helps your wig look natural. Let’s break down the steps so you feel confident from the start.
Gather Tools
You want to have all your tools ready before you begin. Here’s a quick checklist to help you out:
Hair thinning scissors and a razor comb set for shaping and blending your wig.
LaceTrim Pro zigzag scissors to trim lace and keep the hairline looking real.
UniWigs 3-in-1 hair brush and rat tail comb for styling, detangling, and parting.
Wax stick and spritz for a smooth, flat base.
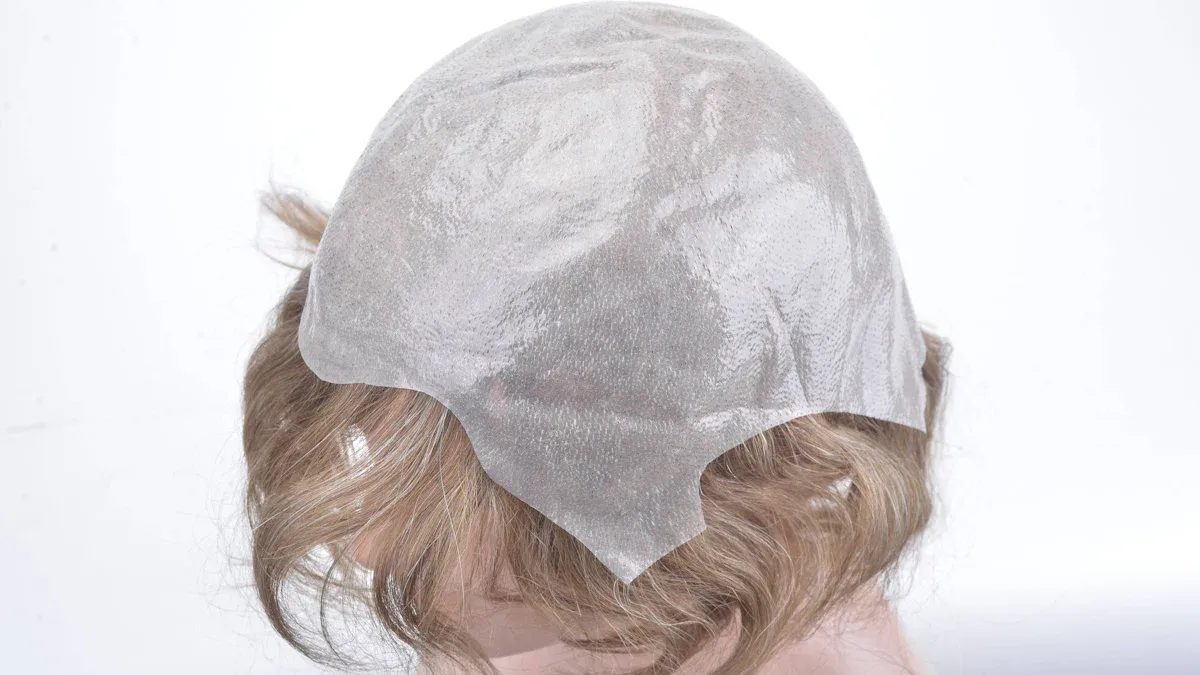
Bald cap (especially if you use lace frontals).
Wig cap, adhesive, or glue (if needed).
Hot comb or flat iron for styling.
Tip: Watching a few beginner-friendly tutorial videos can show you how to use these tools and make the process less stressful.
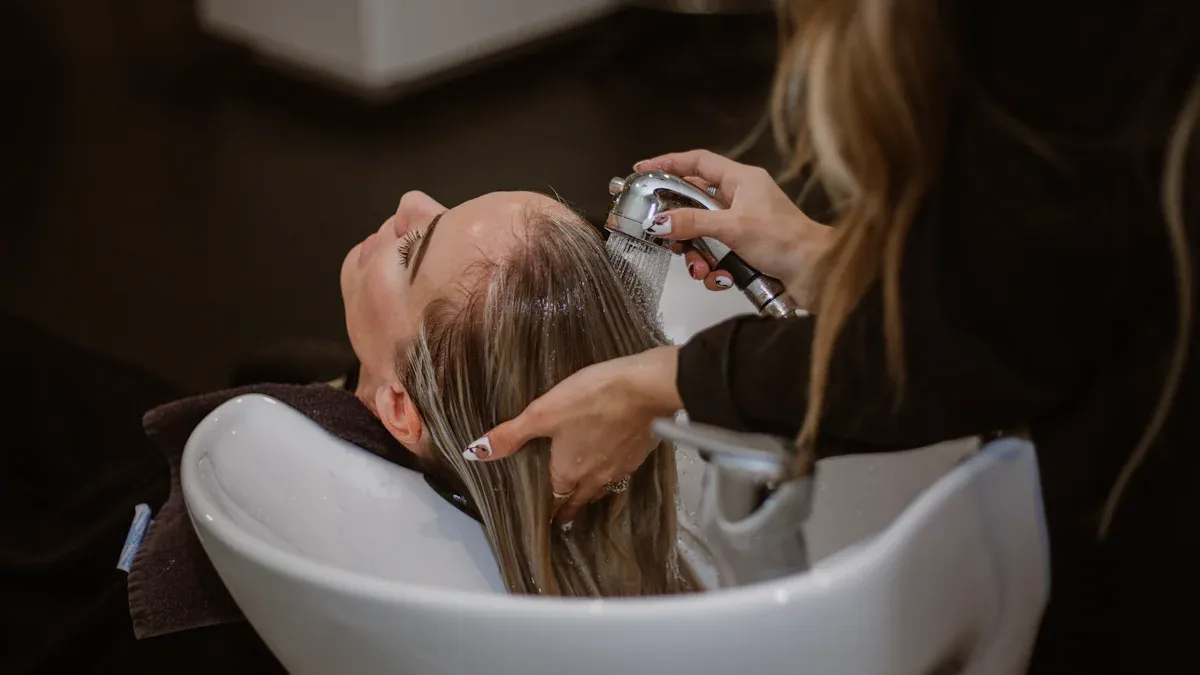
Prep Natural Hair
You want your natural hair to be clean and healthy before you start.
"Before installing your wig, it’s important to properly prepare your natural hair. Start by washing and conditioning it with a moisturizing shampoo and conditioner."
"After that, make sure to gently detangle your hair using either a wide-toothed hot comb or brush."
"Once your hair is detangled, use an oil-based product like argan oil or coconut oil to seal in moisture and prevent damage from the adhesive during installation."
"Proper preparation is key to a successful installation. The pre-installation process helps to optimize the hair’s health and create an ideal foundation for the installation, ensuring longevity and natural-looking results."
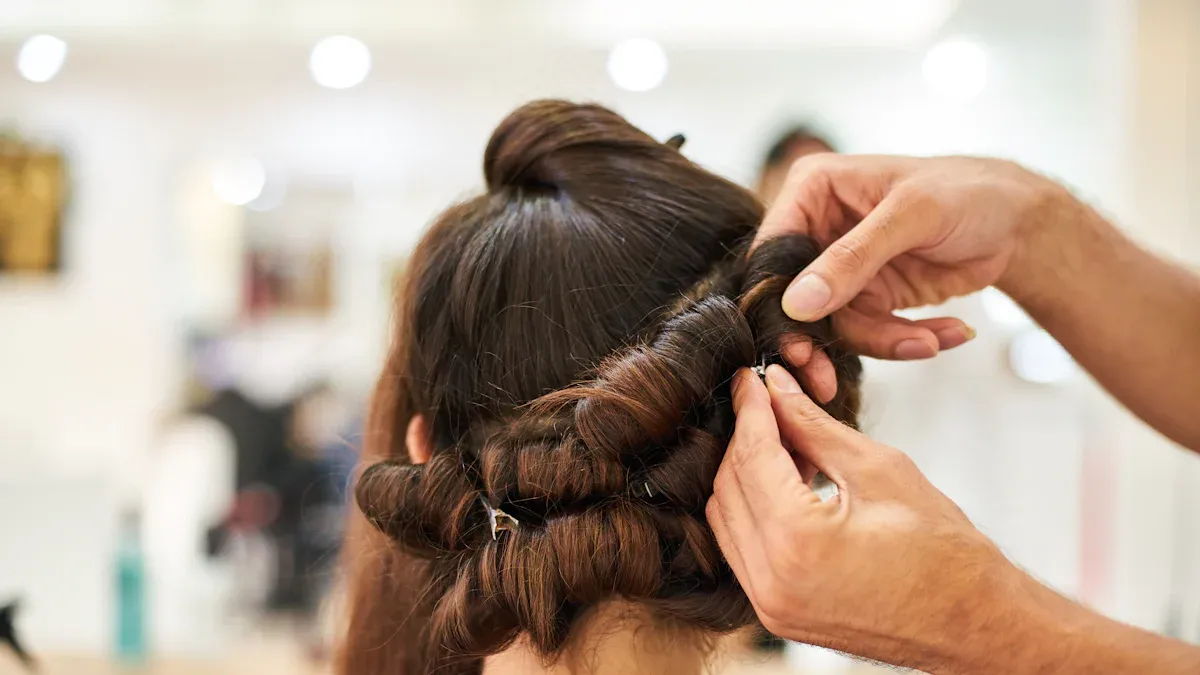
If you have long hair, braid it or lay it flat under a wig cap. This step helps your wig sit smoothly and look more natural.
Skin and Hairline Prep
Clean your hairline and forehead with a gentle cleanser. This removes oils and helps adhesives stick better. If you use a lace frontal, put on a bald cap to hide your natural hair and create a seamless look. Use a wax stick and spritz to flatten any flyaways and keep your base smooth.
Pro tip: A flat base makes your wig install look more realistic and comfortable.
Take your time with these steps. The better you prep, the easier the rest of the process will be!
Wig Install Methods
When you start a wig install, you have a few different ways to put your wig on. Each method has its own steps and benefits. Let’s look at the most popular options so you can choose what works best for you.
Wig Cap Method
The wig cap method gives you a smooth base for your wig. You put on a wig cap to keep your natural hair flat and hidden. This step helps your wig sit better and look more natural. If you use a lace frontal, you might want to try the bald cap method. This means you pull a thin cap over your hairline and glue it down. Then, you cut away the extra cap so it looks like your scalp. This trick makes the wig blend in and hides your real hair.
Glue and Gel Methods
Glue and gel methods help your wig stay in place for a long time. You use a special wig glue or gel along your hairline. This holds the lace down and keeps the wig from moving. Many people like this method because it feels secure and can last up to 1.5 to 2 weeks if you take care of it.
Cutting the lace is a big part of this method. Here’s how you do it:
Use scissors to cut around the shape of your ear. Remove a small tab of lace so the wig lays flat.
Make a dotted line across the front of the lace wig.
Cut small sections toward the hairline where you made the dots.
Pull the lace tight and cut each section along the hairline. Go slow and be careful.
Don’t cut in a straight line. Make little zigzags or jagged edges for a natural look.
Trim the ear tabs first, but leave a bit of extra lace if you plan to use glue or sew the wig.
Use small snips from each ear toward the center to finish the edge.
Tip: Take your time with lace cutting. A careful trim makes your wig install look real and seamless.
Adhesive Spray
Adhesive spray is a quick and easy way to secure your wig. You spray a thin layer along your hairline, then press the lace down. This method works well if you want a strong hold but don’t want to use glue. It’s less messy and dries fast. You can use adhesive spray for daily wear or for a few days at a time. If you want to remove your wig at night, this is a good choice.
Glueless Install
A glueless install is perfect if you want to take your wig off every day. You use the adjustable straps and combs inside the wig to keep it in place. Some wigs have elastic bands for extra grip. You don’t need glue, gel, or spray. This method feels comfortable and lets your scalp breathe. It’s also the safest for your natural hair and skin.
Comparing Your Options
Here’s a quick look at the main differences:
Method |
Hold Duration |
Best For |
Removal |
|---|---|---|---|
Wig Cap |
1-2 weeks |
Seamless look, lace wigs |
Needs glue remover |
Glue/Gel |
1.5-2 weeks |
Long wear, secure hold |
Needs remover |
Adhesive Spray |
1-3 days |
Quick installs, easy use |
Easy, quick |
Glueless |
Daily |
Beginners, comfort |
Easiest |
You can try different methods to see what feels best. Some people use glue for special events and go glueless for everyday style. No matter which method you pick, a good wig install starts with careful prep and the right tools.
Secure and Fit
Straps and Combs
You want your wig to feel secure all day. Most wigs come with adjustable straps and small combs inside. These features help you get a snug fit that feels just right. Start by adjusting the straps at the back of your wig. You can make the wig tighter or looser, depending on your head size. If your wig has combs, slide them into your natural hair or under your wig cap. This keeps the wig from slipping or moving around.
Some people like to use extra tools for more security. Here are a few options you can try:
Wig grips: These are soft bands you wear under your wig. They help keep the wig in place without glue.
Adhesive tapes: These sticky strips hold the wig down, especially around the hairline.
Clips: You can sew small clips into your wig for extra hold.
Tip: Always measure your head before buying a wig. Wigs come in different sizes like petite, average, and large. Picking the right size makes your wig install much easier and more comfortable.
Comfort Check
After you secure your wig, take a moment to check how it feels. Your wig should feel snug but not too tight. If you feel any pinching or pulling, adjust the straps or move the combs. You want to avoid headaches or sore spots.
Different wig caps offer different levels of comfort. Lace front caps look natural and feel light. Monofilament caps give you a soft, breathable base. Try a few styles to see what feels best on your scalp.
If your wig feels itchy or uncomfortable, take it off and check for loose hairs or rough spots inside the cap. A comfortable fit means you can wear your wig with confidence all day.
A secure and comfy fit is the secret to a great wig install. When your wig feels good, you can focus on styling and enjoying your new look!
Style and Blend
Cut Extra Lace
You want your wig to look as natural as possible. Start by trimming any extra lace from the front of your wig. Use small, sharp scissors and work slowly. Cut in tiny zigzag motions instead of straight lines. This helps the lace blend with your skin and avoids a harsh edge. Always check the fit around your ears and hairline. If you see any lace sticking out, snip it away carefully. Take your time with this step. Careful lace cutting makes a big difference in your final look.
Tip: Try cutting the lace while the wig is on your head. This gives you more control and helps you avoid mistakes.
Blend Hairline
Blending your hairline is the secret to a seamless wig install. You can use a few tricks to make the transition look smooth:
Place your wig or hair topper slightly behind your natural hairline. This adds volume and makes the edge less noticeable.
Match the color of your wig to your natural hair. If you see a line, use root concealer spray or choose a wig with a rooted design.
If blending feels tricky, pick a wig with bangs. Bangs cover the front and make blending much easier.
You can also use a small makeup brush to dab a little foundation along the lace. This helps the lace match your skin tone and hides any visible edges.
Flat Finish Tips
A flat finish makes your wig look real and feel comfortable. Use a hot comb or flat iron to smooth the top of your wig. Press gently and avoid too much heat. Apply a wax stick to tame flyaways and keep the hair sleek. Spritz a little holding spray for extra control. Work in small sections and style the hairline last. If you want extra flatness, wrap your hairline with a silk scarf for ten minutes.
Pro tip: A flat base and smooth hairline help your wig install look flawless all day.
Troubleshoot Wig Install
Prevent Slippage
Wig slipping can feel frustrating, but you can fix it with a few simple tricks. First, always measure your head before buying a wig. A snug fit keeps your wig in place all day. Try using grip bands or wig caps for extra friction. These help your wig stay put, even if you move around a lot. Check your wig for weak spots and reinforce them if needed. You can also use adhesive sprays or silicone strips for more hold. Sometimes, a light mist of hairspray does the trick. If you notice your wig still slips, try a different style or size. Not every wig fits the same, so don’t be afraid to experiment.
Use grip bands or wig caps for better hold.
Reinforce weak spots in your wig.
Try adhesive sprays, silicone strips, or a little hairspray.
Tip: A secure wig means you can enjoy your day without worry!
Itch and Discomfort
Itchy wigs can ruin your mood fast. You can stop the itch by picking breathable materials and making sure your wig fits just right. A silk or cotton wig cap feels soft and lets your scalp breathe. Clean your scalp and wig often to keep things fresh. If you have sensitive skin, look for hypoallergenic adhesives. You can also use alcohol-free witch hazel on your scalp every few hours to cut down on oil. After you take off your wig, wash your scalp with a gentle shampoo and use a moisturizer with aloe vera.
Pick breathable, soft wig caps.
Clean your scalp and wig regularly.
Use gentle, skin-friendly adhesives.
If your wig feels too tight or too loose, talk to a wig specialist. They can help you find the perfect fit.
Fix Visible Lace
Sometimes, lace edges show up when you least expect it. You can fix this by dabbing a little foundation or concealer along the lace. Use a small brush for best results. If the lace still stands out, try trimming it a bit more with tiny zigzag cuts. Press the lace down with a scarf for a few minutes to help it blend. You can also use a root concealer spray to match the lace to your skin or hair color.
Last-Minute Wig Install
Need a quick fix? You can do a fast wig install by using a glueless method. Just pop on your wig, adjust the straps, and use a wig grip for extra hold. If you spot flyaways, smooth them down with a wax stick or a little spritz. For visible lace, dab on some foundation and press with a scarf for five minutes. You’ll look polished in no time—even if you’re in a rush!
Remember: Practice makes perfect. The more you try these tips, the easier your wig install will get.
You can master a great wig install by following the right steps and practicing often. Try different methods until you find what feels best. Keep your wig looking fresh by washing it gently, conditioning, storing it on a stand, and using wig-friendly products. Remember to measure your head, place your wig correctly, and use just enough adhesive. If you care for your wig and avoid common mistakes, you’ll enjoy a natural, secure look every time.
Wash with sulfate-free products and condition after each wash.
Store on a wig stand or mannequin head.
Limit heat and use wig-safe products.
Visit a stylist for trims and style updates.
FAQ
How long does a wig install last?
You can expect your wig install to last about 1.5 to 2 weeks if you use glue or gel. Glueless installs work best for daily wear. Always check your wig for comfort and security.
Can I sleep with my wig on?
You can sleep with your wig on, but it’s better to wear a silk scarf or bonnet. This helps protect your wig from tangling and keeps it looking fresh longer.
What should I do if my wig feels itchy?
Try wearing a breathable wig cap. Wash your scalp and wig often. Use gentle products. If the itch continues, switch to hypoallergenic adhesives or talk to a wig specialist.
How do I make my wig look more natural?
Trim the lace in small zigzags. Blend the hairline with foundation or concealer. Use a wax stick and hot comb for a flat finish. Pick a wig color close to your natural hair.